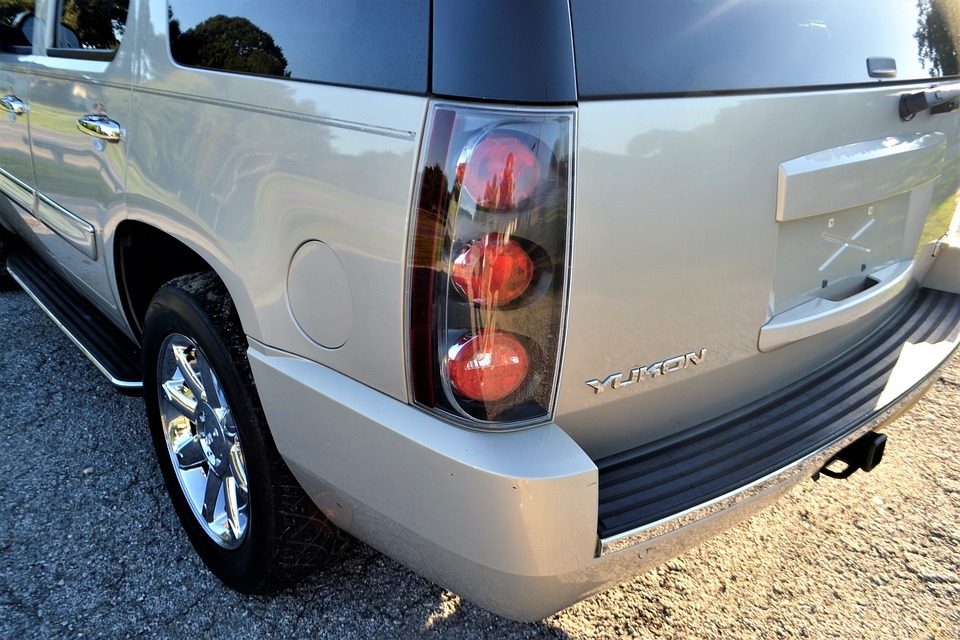
No matter how perfect your parallel-parking skills are, there’s just no way to completely prevent scratches, dents, and nicks on your bumper. As careful and as cautious as you are, you just can’t control the actions of other drivers.
You do what you can to protect your car, but when that still doesn’t prevent the occurrence of auto cosmetic blemishes, it’s time to resort to the next best thing: removing those blemishes. You can go the more expensive professional route like car scratch remover or more affordable DIY path that’s just as effective when done correctly.
Today, we’ll discuss how to do the latter properly to save yourself some potentially serious bank-breaking in the future.
What You Shouldn’t Do When Removing Scratches?
A common misconception among car owners is that some low-quality body filler and matching spray paint will get the job done. It won’t; in fact, it can even make things worse. And by worse, we mean it can ugly-up your car big time.
In the spirit of aligning with new DIY technology, there’s an entirely new set of supplies for handling bumper scratches. These are what you should look to use for fixing your rides. They’re more suited to addressing the modern plastic and carbon fiber parts of your vehicle’s bumper.
Things You’ll Need
It’s no secret that DIY is a thing many get into these days. That’s also why there’s an overwhelming amount of supply options for those going this route. These happen to be some of the best and most practical ones:
- Repair and finishing kits
- Prep solvent
- Factory-matching spray paint
- Vehicle spray primer
- Vehicle spray clear coat
- Coarse and fine sandpaper sheets
- Putty
- Grease and wax remover
- Scuff pad
- Cleaning towel
Fixing Bumper Scratches
There’s a common misconception about bumpers being the protective sections at the front and rear ends of your car; they’re not. The actual bumpers lie beneath these metal or plastic parts most think are real bumpers.
They’re also highly prone to nicks, dents, and scratches. They’re also designed to bear the brunt of these incidents and prevent more serious damage from coming to the car.
Regardless of their original purpose, the fact remains that we don’t want our bumpers looking ugly. So, what you need to do is take off the panel or cover.
Do this by removing the screws located behind the metal caps and those under the lights and wheel wells. It should allow you to slide the bumper tabs off their slots easily.
Proceed to look for bolts or screws below the carpeting between the back bumper and wheel. Now, your bumper’s ready for a much-needed facelift.
The Fascia Facelift
The fascia facelift should take place in a warm and dry area for optimal results. It’s a process that requires you to consider the uniqueness of each bumper. Follow these steps to do it correctly:
1. Check
Check the bumper’s label to determine what type of plastic it uses. It could be one of the following: polypropylene, thermoplastic elastomer, polyphenylene oxide, thermoplastic polyurethane elastomer, and polyurethane plastic rigid.
The first three create a smearing effect when machine-sanded or grounded, while the latter two powder up when subjected to the same process.
2. Select
After identifying the type of plastic, it’s time to select the filler. Fillers are unique in how they react to different materials, so always go for what’s most compatible with your car.
3. Scuff
Scuff the area that’s damaged lightly before cleaning it using a surface cleaner. Parts that have been pierced or torn have to be scrubbed thoroughly.
4. Rinse, Dry, Apply
Rinse the area, and then let it dry. Then, apply prep solvent to the area. Use a single direction to prevent dragging dirt and debris and damaging the bumper even more.
5. Mix and Spread
Mix equal parts of the repair adhesive and hardener on a container. Wait for the mixture to dry before sanding the area with grit paper.
Form a V-shape around the damaged area to align surfaces easily while creating a portion for the material to adhere to. Begin spreading the plastic filler.
6. Repair and Add
Repair the cuts and tears on the rear. If the damage is too extensive, you might have to align the edges and use masking tape to stick them together.
Add structure to the tear using self-stick fiberglass repair tape. Use a squeegee to apply the adhesive mixture over the tape, applying two layers in total, with the second running at a right angle to the first.
Maintaining Your Car’s Rear Bumper
There’s only so much you can do to prevent bumper damage. That said, a close to foolproof method exists by combining careful car handling and know-how on quick and easy car fixes such as the fascia facelift
Do your research, gather the right materials, and take time to learn things thoroughly. When you do, scratches and nicks should cease to be sources of annoyance and frustration where your car bumpers are concerned.

