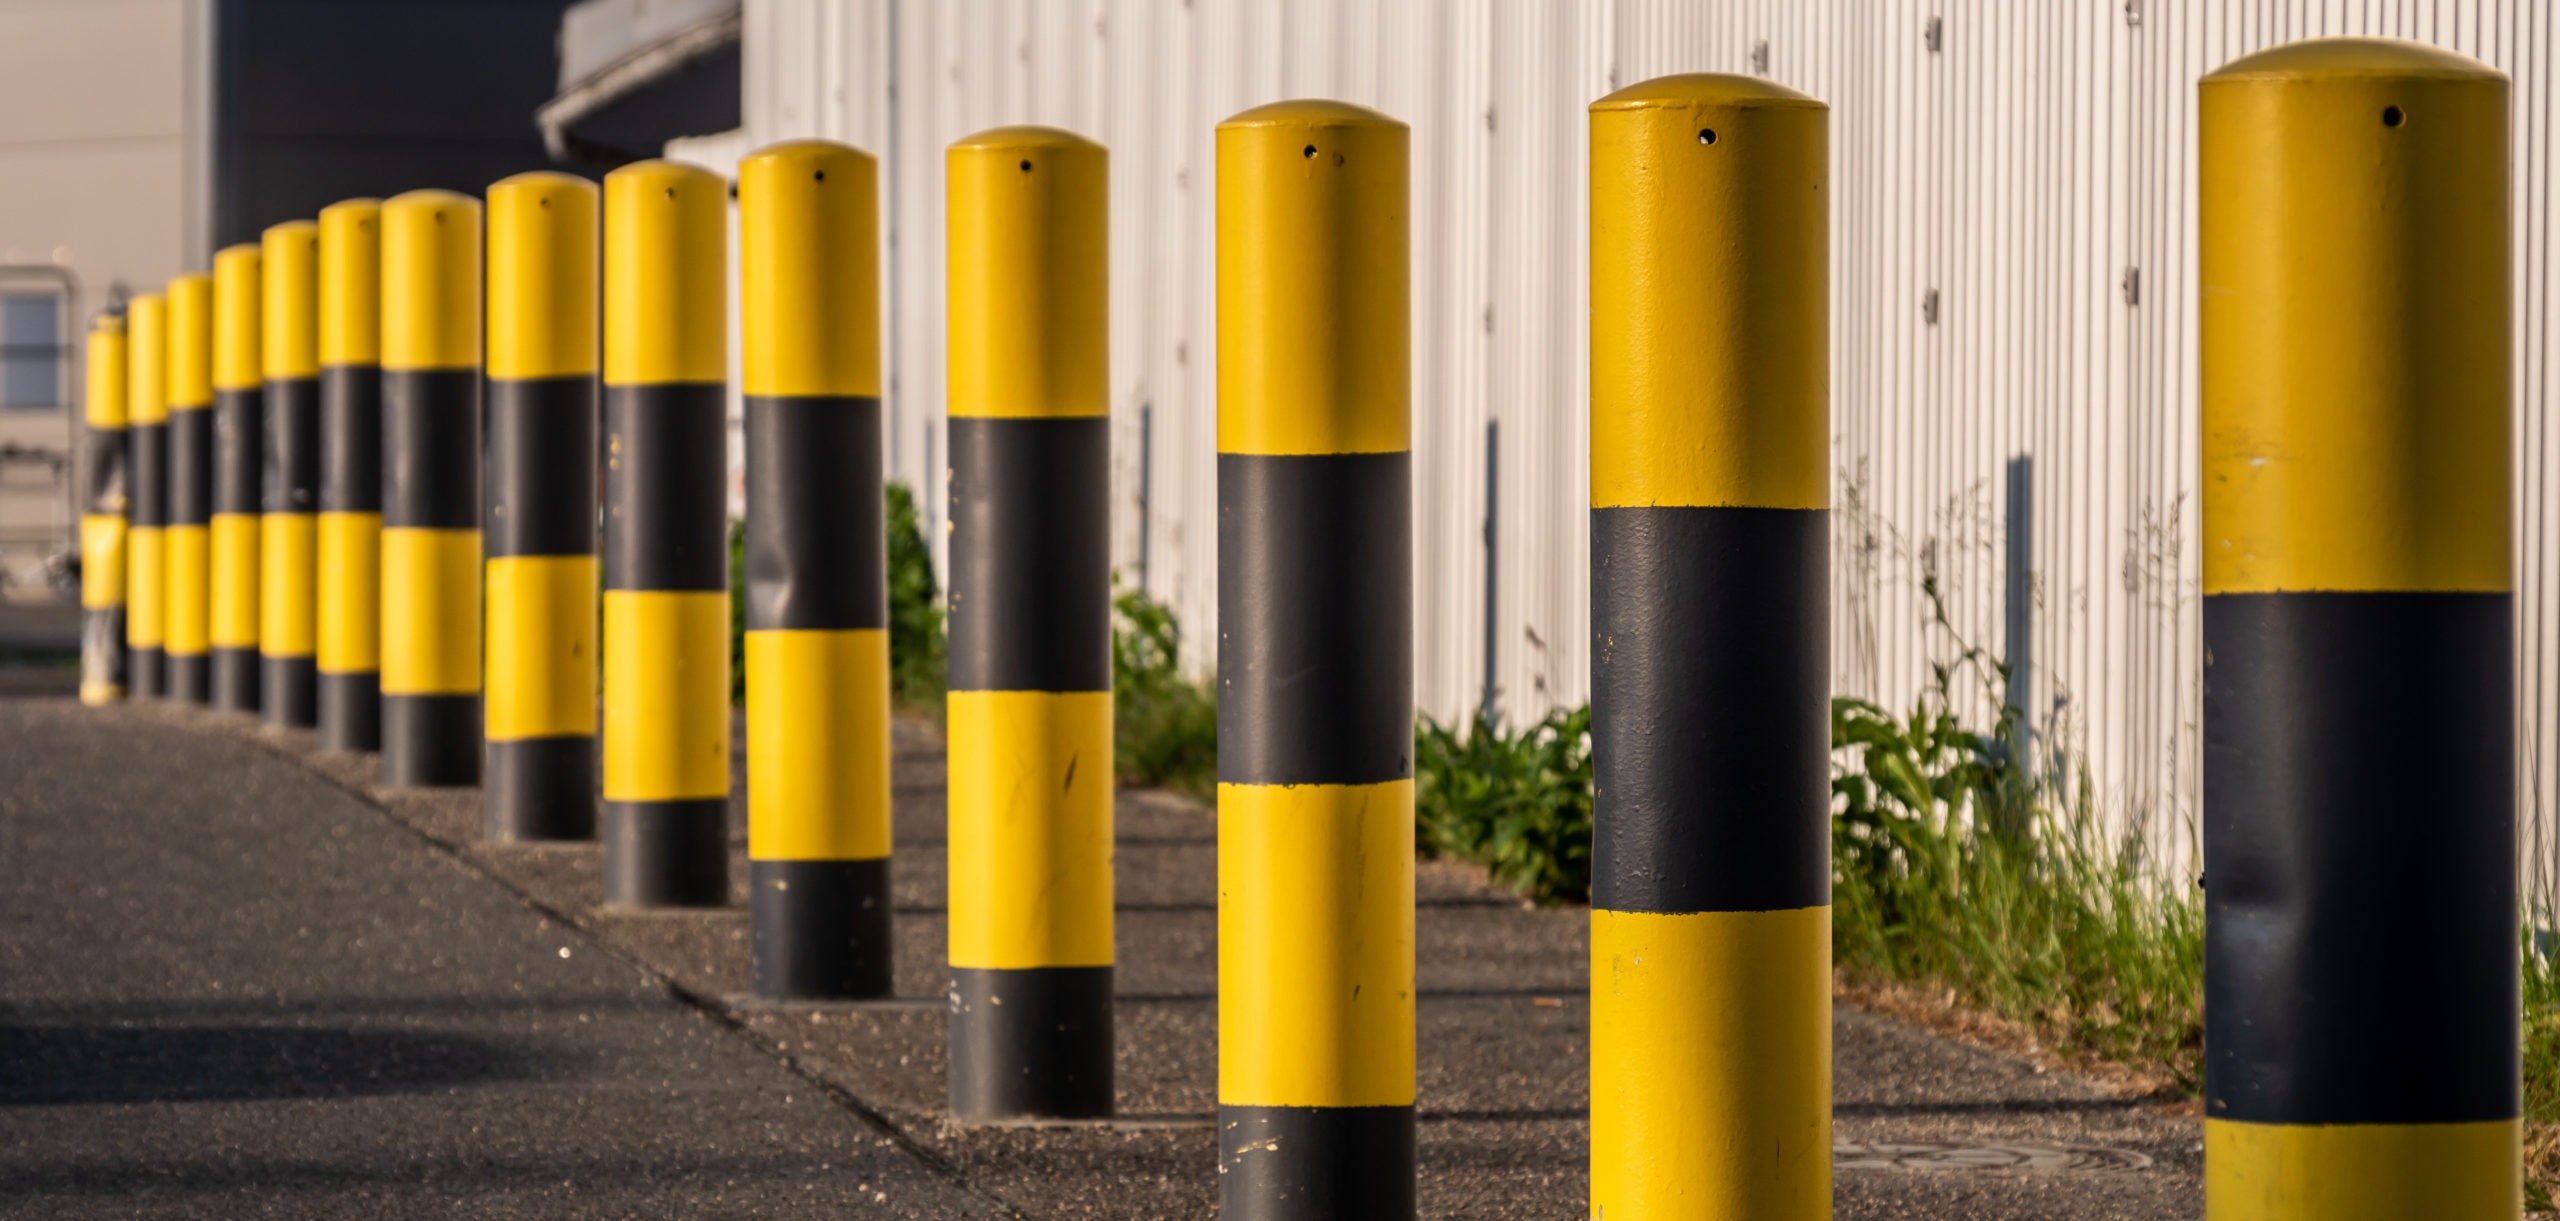
Bollards—the short and generally colorful posts—have become the preferred markers for traffic and parking purposes today. People also install them to protect landmarks and provide enough spacing for sidewalks and utilities.
In some residential spaces, bollards are installed in front of garages to provide clear focal points to lower the risks of bumps and crashes. Suppose you’re considering installing bollards in front of your garage. In that case, you may need to know the step-by-step procedure for setting up these posts for your car’s safety and protection. And for that, here’s an article to guide you. So, read on!
1. Determine The Type Of Bollard To Use And Installation Areas
Before choosing your bollard installation area, determine the type of bollards you need first. Generally, there are removable, flexible, decorative, safety, parking, and mixed bollards. If you’re after safety bollards, you can visit your local bollard provider, such as Image Extra and others, for a range of options. Then, you can determine the areas you’d install the posts.
In choosing the area where you’ll install the bollards, you must check the spots for possible ground hazards, such as gas lines, wires, and pipes. In most cases, you’d refer to a site plan or a pro who knows the ground plan of the area. You may also refer to your state’s legal requirements regarding installing bollards in your area.
After securing a hazard-free location, you may start marking your chosen points with chalk or tape. Then, ensure a 5-foot distance between each point to provide ample movement space but narrow enough to block small cars.
2. Dig Cube-Shaped Holes
After selecting the installation points, you can start digging the holes for the bollards. If you’re installing permanent bollards, you must excavate more widely and deeply to provide space not just for the bollards but also for the ground sleeve and rebar reinforcement. Remember that the hole’s depth should cover 1/4 of the bollard’s depth. Generally, the depth ranges from 2-8 inches. Moreover, it should be wider than the bollard’s size.
On the other hand, if you’re installing collapsible types, you must dig enough to cover the required depth. These bollards have different dimensions and may require specific mounting instructions according to their manufacturer. In many cases, you’d need a hammer or a high-powered auger for the digging. But, if possible, you may also excavate cube-shaped holes as they can work for permanent and collapsible bollards.
3. Clean And Clear The Holes
After digging enough soil, you can start pulling out the debris inside the holes. You may use a vacuum to remove stones and other debris. You may also use a shovel to remove what remains of the soil and debris.
Avoid using a rotary broom as they may cause the digging to cave in. Don’t proceed with the bollard installation if the soil and debris in the holes continue to topple.
4. Set The Bases
If you’re installing permanent bollards, you may need to prepare a concrete mix where you’ll insert the bollard’s base. If installing collapsible bollards, you may place a drop-in anchor in each hole appropriate for the bollard’s plug. You may refer to the bollard’s manual and instructions to determine the correct dimensions of the anchor.
If you’re setting up removable bollards, you must start by pouring in a layer of gravel to create drainage for ground sleeves. This procedure prevents water, snow, and mud from gathering and affecting the base and bollard. Pour gravel once again at the bottom to absorb the ground’s moisture to prevent it from affecting the bollard once it’s erected.
For removable bollards, you may add a rebar cage and rest it on top of the gravel’s layer for reinforcement. Suppose you’re attaching a drainage pipe. In this case, you must flush the sleeve’s surface with the ground. For the remaining space in the hole, you can fill it with a hunk of concrete. Then, smooth it until it’s appropriately leveled.
5. Insert The Bollards
For fixed and removable bollards, you may need to ensure that the ground is level and ready before mounting the posts. However, their situations may differ, so it’s appropriate to follow their manual procedures.
In addition, you may need to consider your purpose for parking, traffic guide, or both in front of your garage. In the end, you must ensure that all dirt and debris are removed, and the base is wholly pressed flat.
You must insert a setting tool to connect the bollard’s internal plug for collapsible bollards. You can use a hammer to lock each plug appropriately. Then, you may drill the holes for the washers and bolts necessary for setting up the base. Lastly, seal the base by fastening the washers and bolts.
You can look at them at a distance to ensure that the bollards are well-spaced and straight. Then, you may choose to attach a padlock to the post in a vertical position or let them stand straight without any attachment. You can test the collapsible bollards by moving them up and down.
6. Finalize The Process
For the last step, you may consider choosing among the following final touches to prevent the accumulation of dust, water, and debris and guide drivers as they maneuver or park their cars:
Concrete
Create a dome-shaped mound to cover the lowest portion of the post seen on the surface. This mound shall be cured and tight enough to keep the bollards erect.
Bollard Cover And Sleeves
These plastic covers fit over the bollards to increase visibility and protect the posts from natural wear and tear. Because of this, they enhance the bollard’s durability and appearance. Bollards are sometimes painted with similar bright neon colors for the same purpose.
Bollard Cap
This product is often placed on top of the bollard. In many cases, bollard caps minimize the seeping in of moisture and cover the upper portion of the post against possible damage.
Wrapping Up
Bollards are multi-purpose posts used as traffic and pedestrian guides and parking markers. If you’re planning to install them in front of your garage, review this article for the sequential steps necessary to establish the bollards properly.
If you’re looking for more ideas, you may visit your area’s best-known bollard provider or talk to a local bollard contractor. Aside from this, you may also read or subscribe to blogs about traffic and parking management.