If you’re a proud vehicle owner, then you may want to learn about something called 3M window tinting. As the experts at Pro Window Tinting know, 3M window tinting is a type of automotive window tint that can open you up to all kinds of benefits for vehicle owners. It can stop nosy and curious folks from being able to see the interior of your car’s cabin. It obstructs harmful and aggressive ultraviolet rays that are given off by the sun. It minimizes glare. It enhances security. It can even elevate your car’s aesthetic!
Although there are definitely many 3M window tinting benefits, there can also be problems at times. A common complaint when 3M window tinting isn’t applied properly is the development of irritating window tint bubbles. However, the good news is that getting rid of them isn’t as time-consuming or hard as you may fear.
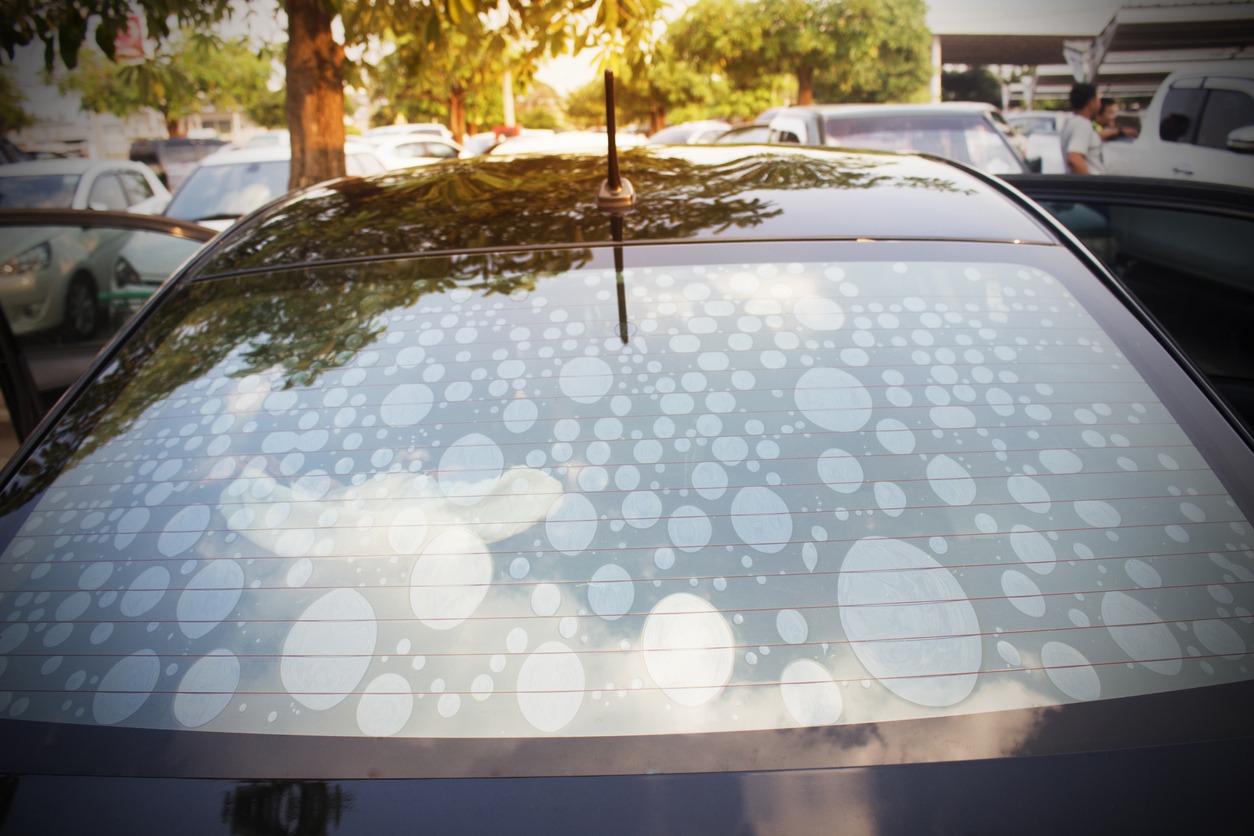
Window Tint Bubbles
What exactly makes these bubbles so frustrating, anyway? They’re hard on the eyes, first and foremost. They can also decrease the visibility of a driver and make things a lot more hazardous for people behind the wheel.
You shouldn’t be shocked if you notice the emergence of bubbles on your 3M window tinting. They may be the result of standard application methods. Water can get stuck in the middle of film and windows, after all. Bubbles may pop up due to deconstruction of tint, too. If your adhesive is starting to wear out, then you may begin to notice bubbles appearing seemingly out of nowhere.
How You Can Say Farewell to Window Tint Bubbles
Use Heat
Try warming things up. Park your vehicle in a particularly sunny area. This may help minimize the bubbles. You don’t have to fret if the weather isn’t cooperating, either. You can try warming up the tint with the blow-dryer from your bathroom at home.
Drying can sometimes work as well. Get your hands on a rag or a cloth that’s free of any lint. Use it to dry the surface of your car windows thoroughly.
Flatten Them Out
Get a credit card from your wallet. If you don’t have one, opt for anything else that has a side that’s totally straight and even. You can use the side to level out any and all bubbles gradually. Work your way toward the side that’s nearest the bubbles. Do anything you can to refrain from moving in an overly rapid manner. Moving too speedily can hurt the surface of your windows.
Create An Opening
Create a little opening in individual bubbles that you see. You can do this with the help of a basic straight pin. Remember, you have to create holes that are extremely small and difficult to see. Make a point to be prudent as well. The last thing you want to do is tear the film.
Use Water
Water mixed in with soap can often work like a charm for bubble removal purposes, too. If your tint doesn’t have much pliability on its side, bubbles may become an unpleasant result. It’s crucial to have a pliable tint that can establish an immaculate window seal. If you’re not equipped with that, then water and soap may be able to save the day. If you don’t want to have to deal with the hassles of bubbles, you may want to consider using the soapy blend to meticulously clean your window tint prior to going forward with the application. You can use the blend to clean it after it has been applied successfully all the same. Cleaning at this point may bring on transparency. It may do away with all of the bubbles as well.
Use An Iron
Do you own a standard iron? If you do, it may help you get out of your tint bubble rut. It may be wise to do this in conjunction with the previously mentioned straight pin technique. Your aim in ironing the surface should be to get rid of any air. Don’t use heat with your iron, as it could melt the film. Simply use it to flatten the bubbles.