Car window tinting offers a range of benefits, from privacy to heat reduction, making it a popular choice among car owners. However, as time passes, window tint can lose appeal and functionality, becoming faded, scratched, or damaged. If you’re facing this issue, properly removing old or damaged car window tinting is essential. In this engaging and detailed blog post, we will take you through a step-by-step journey, equipping you with the knowledge and techniques to restore clarity and style to your vehicle’s windows. From gathering the necessary tools to safely removing the tint, dissolving adhesive residue, and achieving sparkling clean glass, get ready to transform your car windows confidently.
Gather the Tools and Materials
Before diving into the window tinting removal process, let’s ensure you have everything you need. To successfully remove the tint, you will require a heat gun or hairdryer, a sharp razor blade or window scraper, an ammonia-based window cleaner, paper towels or lint-free cloths, and a trash bag. Additionally, consider wearing protective gloves and eye goggles for added safety during the process.
Soften the Adhesive with Heat
The first step is to soften the adhesive holding the window tint in place. Utilize a heat gun or hairdryer on the lowest setting and have it approximately six inches away from the tint. Keep the heat source in constant motion, heating the tint evenly. The heat will gradually soften the adhesive, making it easier to remove.
Carefully Peel Off the Tint
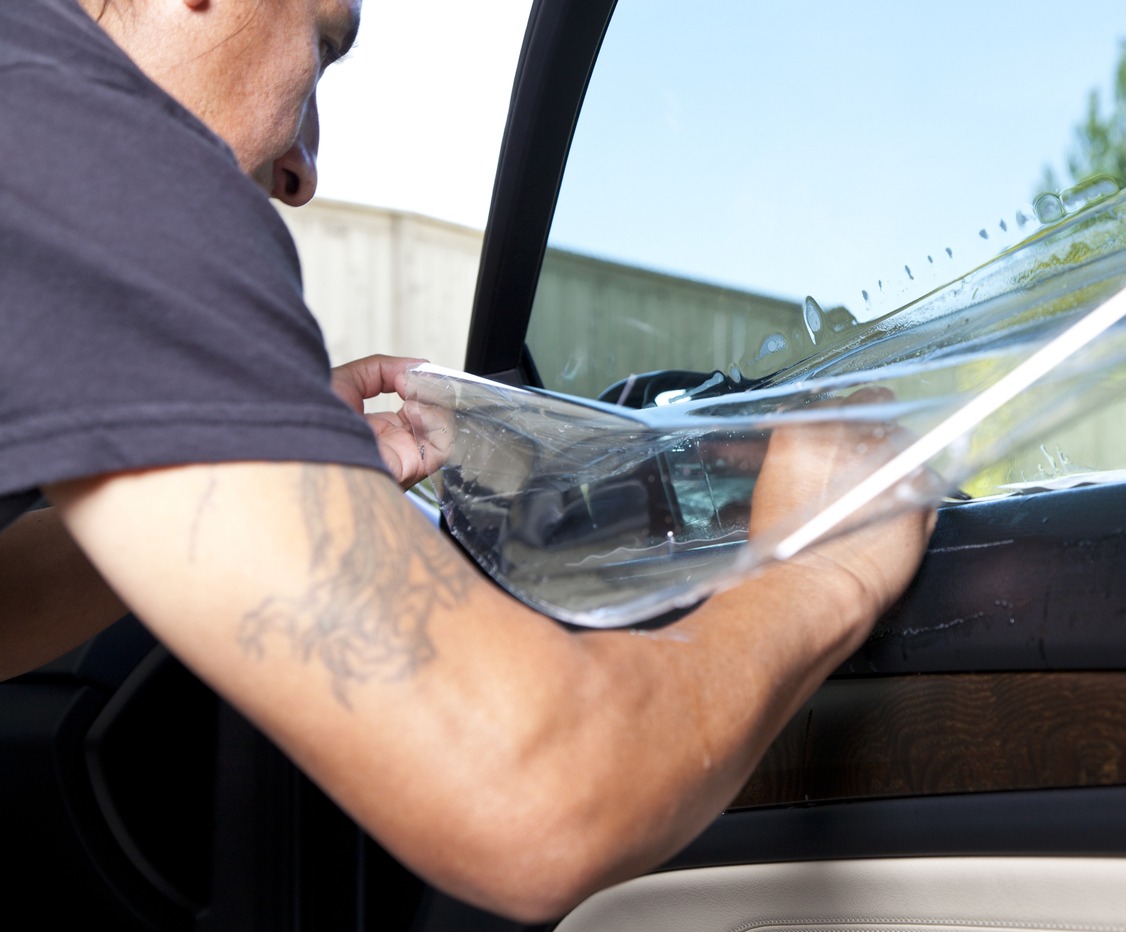
Once the adhesive has been sufficiently heated, it’s time to gently peel off the tint. Start by using a sharp razor blade or window scraper to lift the edge of the tint, taking care to hold the blade at a shallow angle to avoid scratching the glass. Slowly and steadily peel off the tint, keeping it as intact as possible. If the tint resists, apply more heat and continue peeling. Take your time and exercise caution to avoid damaging the glass surface.
Remove Residual Adhesive
After successfully removing the window tinting, it’s common to find adhesive residue on the surface. This can be tackled effectively by employing an ammonia-based window cleaner. Spray the cleaner directly onto the glass, ensuring the affected area is thoroughly saturated. Allow the cleaner to sit for a few minutes, giving it time to dissolve the adhesive residue. Then, gently scrape off the residual adhesive using a razor blade or window scraper. Take care to maintain a shallow angle and periodically spray more cleaner to keep the area wet and facilitate the removal process.
Clean and Polish the Glass
With the adhesive residue removed, it’s time to restore the shine and clarity of your car windows. Begin by using an ammonia-based window cleaner and paper towels or lint-free cloths to clean the glass thoroughly. Adopt circular motions while wiping the window to ensure all remnants of the adhesive are eliminated. Once the glass is clean and free from residue, take the opportunity to enhance its lustre by using a glass cleaner specifically designed to remove streaks and maximize clarity. Apply the glass cleaner to a clean cloth and gently wipe the window smoothly until it gleams with renewed brilliance.
Repeat the Process for Remaining Windows
Now that you have successfully removed the old or damaged window tint from one window repeat the same process for the remaining windows in your vehicle. Approach each window with the same care, using heat to soften the adhesive, peeling off the tint gently, removing any residual glue, and concluding with a thorough cleaning and polishing. Consistency and attention to detail will ensure a uniform and satisfying outcome.
Conclusion
By following this comprehensive guide, you now possess the knowledge and techniques necessary to safely remove old or damaged car window tinting. From gathering the required tools and softening the adhesive with heat to carefully peeling off the tint, dissolving residual adhesive, and achieving spotless and polished glass, you can restore clarity and style to your vehicle’s windows with confidence. Embrace the process, take your time, and revel in the transformation of your car’s appearance. Remember, a well-maintained and aesthetically pleasing window is not only visually appealing but also enhances your driving experience. So, bid farewell to old tint and welcome back the clarity and charm of your car’s windows!
