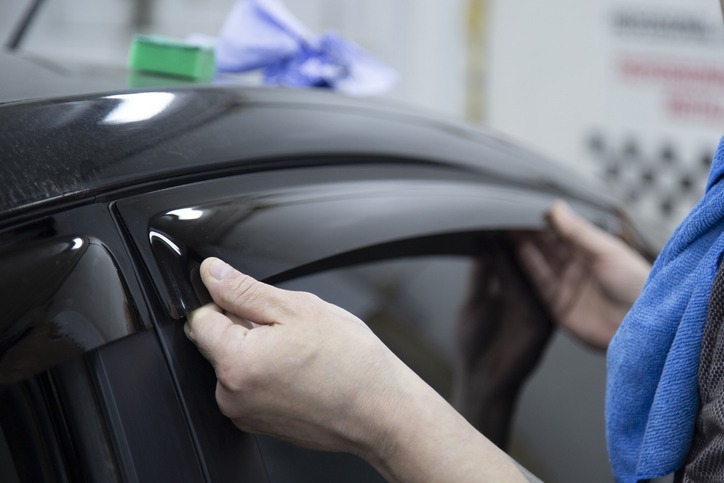
Installing window tint on your vehicle’s windows can provide numerous benefits, including heat reduction, UV protection, and enhanced privacy. While it is recommended to have window tint installed by a professional, some car owners may choose to undertake the task themselves to try to get the best window tinting possible.
If you decide to install window tint on your own, it is essential to follow the proper steps to ensure a successful and professional-looking installation by adhering to the following steps.
1. Gather the Necessary Materials and Tools
Before you begin the installation process, gather all the materials and tools you will need. This includes window tint film, a window cleaner, a squeegee or window tint applicator, a heat gun or hairdryer, a sharp knife or tint cutting tool, and a spray bottle filled with a mixture of water and a few drops of liquid soap.
2. Prepare the Windows
To achieve a clean and smooth installation, it is essential to thoroughly clean the windows before applying the tint. Start by using a window cleaner to remove any dirt, debris, or residue from the glass. Be sure to clean both the interior and exterior surfaces of the windows. Use a lint-free cloth or paper towel to dry the windows completely.
3. Measure and Cut the Window Tint Film
Measure the dimensions of each window, and then use those measurements to cut the window tint film accordingly. It is recommended to leave a few extra inches on each side to ensure full coverage. Use a sharp knife or tint-cutting tool to make clean and precise cuts. It is important to work on a clean and flat surface to prevent any dust or debris from getting trapped between the film and the glass.
4. Spray the Window with the Soap-Water Mixture
Fill a spray bottle with a mixture of water and a few drops of liquid soap. Lightly spray the window with the soap-water solution. This step helps create a temporary bond between the window tint film and the glass, allowing for easier positioning and adjustment during installation.
5. Apply the Window Tint Film
Carefully peel the protective backing off the window tint film, exposing the adhesive side. Hold the film by its edges to avoid leaving fingerprints or smudges on the adhesive surface. Position the film on the inside of the window, making sure it covers the entire glass surface.
6. Smooth out the Film
Using a squeegee or window tint applicator, starting from the center of the film, gently smooth it out toward the edges. This helps remove any air bubbles or wrinkles that may have formed during the application process. Apply even pressure to ensure proper adhesion between the film and the glass.
7. Trim Excess Film
Once the film is properly applied and smoothed out, use a sharp knife or tint-cutting tool to trim off any excess film around the edges of the window. Take your time and use smooth, controlled motions to achieve clean and straight cuts. Be careful not to scratch the glass surface during this step.
8. Heat and Mold the Film
To achieve a professional finish and ensure a tight bond between the film and the glass, use a heat gun or hairdryer to gently heat the film. Move the heat source in a sweeping motion over the entire surface of the film, starting from the center and moving toward the edges. As you heat the film, use your squeegee or window tint applicator to press the film against the glass, moulding it to fit the curvature of the window.
9. Repeat the Process for All Windows
Follow the same steps for each window of your vehicle, one at a time. Take your time and pay attention to detail to ensure a consistent and high-quality installation on all windows.
10. Allow the Film to Dry
After completing the installation on all windows, allow the window tint film to dry completely. This usually takes 1-2 days, depending on the climate and temperature. Avoid rolling down the windows during this drying period to prevent any damage or disturbance to the film.
It is important to note that laws regarding window tint darkness and reflectivity vary by jurisdiction. Before installing window tints on your vehicle, familiarize yourself with the local regulations to ensure compliance.
Conclusion
Installing window tint on your vehicle’s windows can provide numerous benefits, and if done correctly, it can enhance the appearance and functionality of your vehicle. While it is recommended to have window tint installed by a professional, following the proper steps can help you achieve a successful installation if you choose to do it yourself. From gathering the necessary materials and preparing the windows to measure, cutting, and applying the window tint film, each step plays a crucial role in achieving the best window tinting possible for your vehicle. By following these steps and paying attention to detail, you can enjoy the benefits of window tinting on all windows of your vehicle.
