Classic cars are captivating, not only because of their mechanical prowess but also because of their aesthetic charm. Keeping a classic car that has seen decades but is still running can be cool – it can even be an investment.
Sadly, cars don’t always last for a long time. If you own a classic car that is beyond repair but you can’t give up, you may want to give it a new lease on life by upcycling and repurposing its parts. This not only preserves your beloved car’s parts but also places them as a functional and one-of-a-kind piece for your home.
The Appeal of Using Classic Car Parts in DIY Projects
Classic car parts are uniquely appealing for DIY projects because of their distinct characteristics, sentimental value, and historical significance.
Car parts created in the bygone era usually showcase exceptional craftsmanship and design, reflecting the automotive trends and technological advancements of their time. Many enthusiasts find deep sentimental value in these components, as they evoke nostalgia and a connection to the past. Also, if the car is an heirloom from a loved one who has passed away, it serves as a nifty tribute that will always remind you of them.
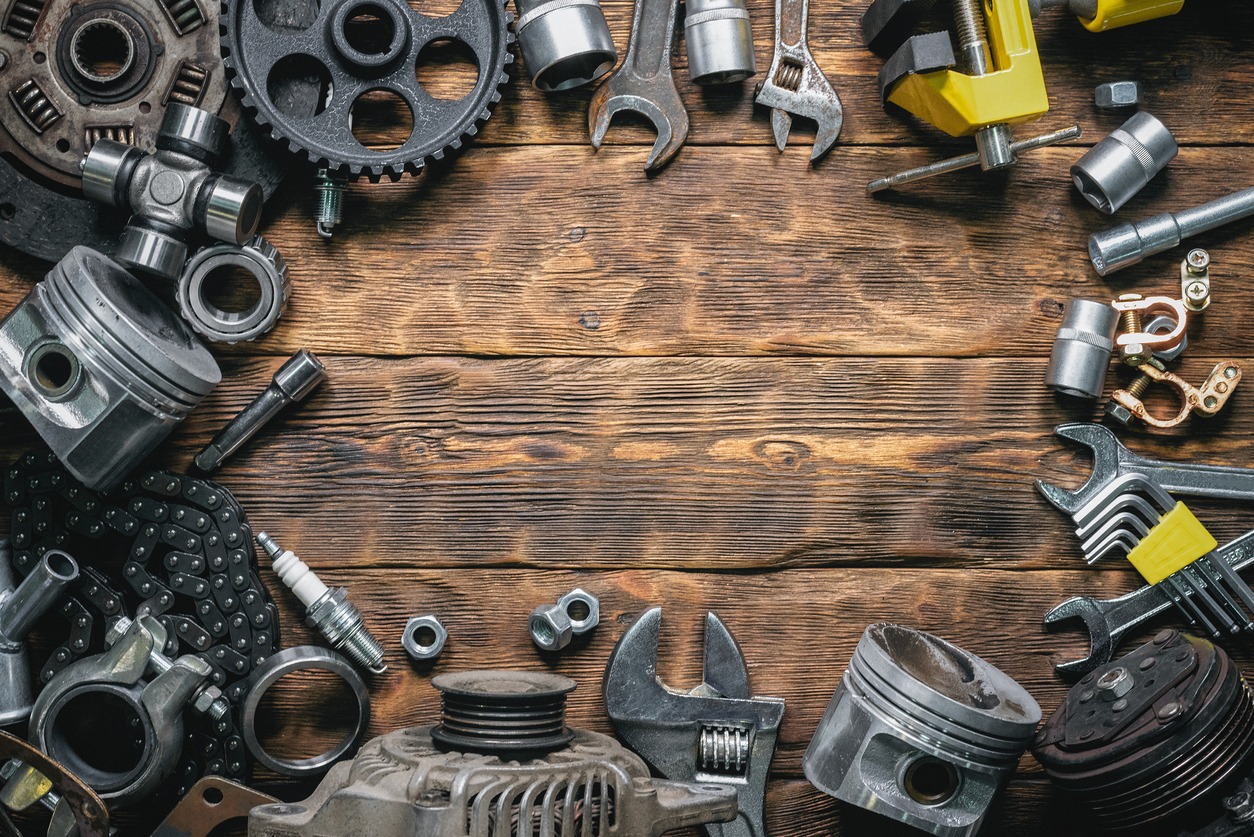
In DIY projects, classic car parts commonly include seats, which are transformed into furniture; hubcaps and headlights, repurposed into decorative items; and other components like grilles and doors, creatively upcycled into functional art pieces.
DIY Project Ideas Using Classic Car Parts
Here are some DIY project ideas for your old car parts:
V8 Engine Table
Do you like industrial décor? If your house is already decorated in one – then old car engines turned into tables are perfect for your space!
Tools and Materials Needed:
- Old Rover V8 engine
- Engine hoist or strong helpers for transport
- Cleaning supplies (engine cleaning products)
- Media blaster for cleaning (optional)
- Clear lacquer spray
- Hammer and appropriate tools for disassembly
- Bolts and threaded bar for assembly
- Glass for tabletop (custom size)
- Rubber stickers for glass stabilization
Instructions:
- Acquire engine. Search for a damaged or incomplete V8 engine, as it’s cheaper and more ethical. If you don’t own one, you can buy from eBay or similar platforms. As you bring it home, use an engine hoist and line your vehicle to avoid oil stains.
- Strip it down. Disassemble the engine, keeping the main block, at least four pistons with con rods/arms, two sprockets from the front, and one chain. Sell or discard other parts.
- Clean the parts you have left. Clean the engine parts with cleaning products or get them bead-blasted for a spotless finish. Note that bead blasting makes the engine unusable for cars.
- Protect the metal. If the block is aluminum, it may not need protection. Otherwise, use clear lacquer spray, especially on steel chambers, to prevent rust.
- Position and drill the pistons. Modify the pistons for assembly. Remove the bottom clamp from the piston con rod and punch out one of the bolts. Use the hole for a new bolt to attach the piston to the engine block. Ensure pistons are aligned and can sit flat.
- Add front decoration. Remove engine internals, leaving a hole for the cam. Attach a large sprocket and chain to the front for decoration.
- Install the glass. Measure and order custom glass for the tabletop. Consider safety and aesthetics like beveled edges and corner radius. Place rubber stickers on the piston heads to stabilize the glass.
Use the chambers to hold wine bottles, adding a functional element to your table. Enjoy your unique V8 engine coffee table!
Car Parts Side Table
Do you hate it when you need to snooze off, and you have no place to put your phone down where you can easily reach it? Retrieve your old brake disc and car spring shock absorber, and build a side table or stool.
Tools and Materials Needed:
- Angle grinder
- Electric grinder sandpaper
- Inverter welder
- Chisel
- Car brake disc
- Car spring shock absorber
- Metal pipe
- Wood rings
- Hanger carpentry
- Wood oil
- Spray paint
Instructions:
- Prepare items. Prepare the car brake disc and spring shock absorber. Cut the metal pipe to the desired length. Then, clean the bark off the wooden rings and sand them smooth.
- Do some welding. Weld the pre-cut metal pipe to the car brake disc. Then, weld the car spring shock absorber to the other end of the metal pipe. Fix the hanger carpentry to the top end of the metal pipe.
- Add some finishing touches. Clean and secure the wooden piece with wood oil. Clean (grind) and paint the metal construction. You can use spray paint for a neat finish.
- Attach the wooden piece to the metal construction, and your stool/side table is ready!
Hot Rod Loveseat
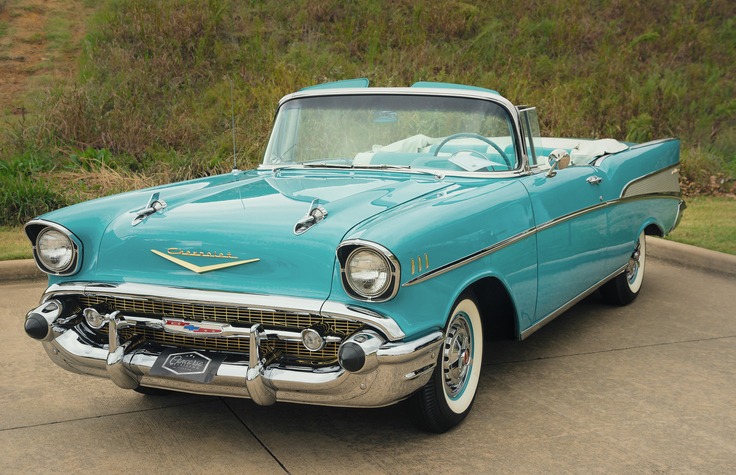
Got a classic convertible Chevy that got scrapped? You may want to transform the rear end of the car into an eye-catching loveseat that feels like it drove straight out of a vintage diner! It’s perfect for adding a touch of retro charm to any living room and will surely impress any guest – whether they are a classic car fan or not!
Tools and Materials Needed:
- The back end shell of a 1957 Chevy (or any other sexy, classic convertible that is not repairable anymore)
- Metal for a support frame
- Simple, inexpensive wood
- The backseat of the Chevy (or similar car seat)
- Basic tools for cutting, welding, and assembling (e.g., angle grinder, welder)
- Upholstery tools and materials (if modifying the seat)
- Paint and finishing supplies
Instructions:
- Acquire the back shell. This will form the main structure of the loveseat.
- Build a support frame. Create a metal support frame to fit inside the car shell. This will act as the base of the couch and should be designed to provide stability and support.
- Add a wood structure. Use simple, inexpensive wood to start shaping the couch. Attach the wood to the metal frame to create a foundation for the seating area.
- Repurpose a car seat. For an innovative approach, flip the backrest to use as the bottom and the bottom as the backrest. This might require additional modifications for comfort and fit.
- Assemble the couch. Fit the repurposed seat onto the wood and metal structure within the Chevy shell. Ensure it’s securely attached and comfortable to sit on.
- Add some finishing touches. Paint and finish the exterior of the Chevy shell to restore its vintage charm. You might also want to upholster the seat to match the style of the car and your personal taste.
- Set it up. Place your new hot rod loveseat in your living room or desired location. It’s now ready to impress visitors and car enthusiasts alike with its unique style and comfort.
Scrap Metal Planter
Store-bought planters are cute and functional, but what’s the fun in buying if you’re a tinkerer? If you have plants needing quality planters, old car parts, and a pipe cap, you can DIY this at home.
Tools and Materials Needed:
- Protective gear (leather welding jacket, welding hood with auto-darkening lens, hearing protection)
- Scrap car parts (camshafts, connecting rod, pipe cap, transmission gear)
- 3M rust and paint remover wheel
- Steel wire brush wheel
- Grinding wheel
- Flap disc
- Welding machine
- 7018 welding rods
- Sandpaper
- Clear engine enamel
Instructions:
- Safety first! Always wear protective gear while working, including a leather welding jacket, welding hood, and hearing protection.
- Gather parts. Collect scrap car parts, including camshafts for leaves, a connecting rod from a 307 Chevy V8 for the stem, a pipe cap, and a transmission gear for the base.
- Clean the stem.Remove rust from the connecting rod using a rust and paint remover wheel and a steel wire brush wheel for hard-to-reach areas.
- Do some more prep.Cut off the wrist pin from the connecting rod. Grind all paint off the outside of the pipe cap. Cut and clean the camshaft lobes (for leaves).
- Smooth it out.Use a flap disc to smooth and blend lines and marks from the grinding disc. This also removes excess metal quickly.
- Assemble the planter. Weld the parts together using a welder and 7018 welding rods. Grind the welds to smooth them out, then finish with a flap disc. Then, use sandpaper for final cleaning and to remove dirt and slag.
- Apply finishing.Coat the sculpture in clear engine enamel to prevent rusting. If any parts break during the process, reattach them through welding.
Tailgate Bar or Wall Bench
If you’ve got the car theme going on in your outdoor décor, this bar or wall bench created from the tailgate of an old Chevy or Ford pickup truck can become the perfect combination of form and function. It’s a great addition to your back porch, garage, man cave, or other similar places.
Tools and Materials Needed:
- Old rusty tailgate
- 2 x 2½” x 8″ stove bolts
- 2 x 20″ x 1½” angle iron
- 1 x 6′ x 1½” angle iron
- 1 x 6′ x 1/8″ pipe or ½” rebar
- Two medium snap rings
- 4 x ½” flat washers
- 1 x 1½” x 1/4-20 allen head bolt
- Drill with a 5/8″ drill bit
- 1/8″ drill bit
- Cotter pin
- Tools for drilling through the wall
- Level
- Small table (for installation assistance)
Instructions:
- Prepare the tailgate. Get an old rusty tailgate.
- Drill tailgate and angle iron. Drill a 5/8″ hole in the center of the pivot on each end of the tailgate. Lay the angle iron flush with the side of the tailgate, mark it, and drill 5/8″ holes in the angle iron to align with the tailgate.
- Assemble the tailgate and angles. Lay out the tailgate and angle irons flat on a table or floor for easy assembly. Slide the 1/8″ pipe through the tailgate and both angle irons.
- Secure the assembly. Place a flat washer on one end of the pipe, then drill a hole through the pipe using a 1/8″ drill bit. Install a cotter pin to lock the pipe in place. Repeat on the other side, ensuring the angle iron is tight against the tailgate for a snug fit.
- Mount on wall. Use a small table to support the tailgate at the desired height during installation. Then, level the tailgate and position the angle pieces on the wall. Temporarily secure them with wood screws. Measure and drill through the angle iron into the wall, then install the 8″ stove bolts. On the other side of the wall, mark the long piece of angle iron according to the bolts, drill it out, and mount it on the bolts, tightening it to the wall.
- Attach cablesfrom the angle iron to the tailgate at both ends.
- Remove the supporting table. The tailgate should now be hanging securely.
- Secure the tailgate. Close the tailgate using the Allen bolt between the angle iron and the truck latch pin. Mark, the spot on the angle iron, tap 1/4-20 threads into the angle iron and install the Allen bolt.
- Finalize the bench. The tailgate must now latch against the wall using the original tailgate handle.

