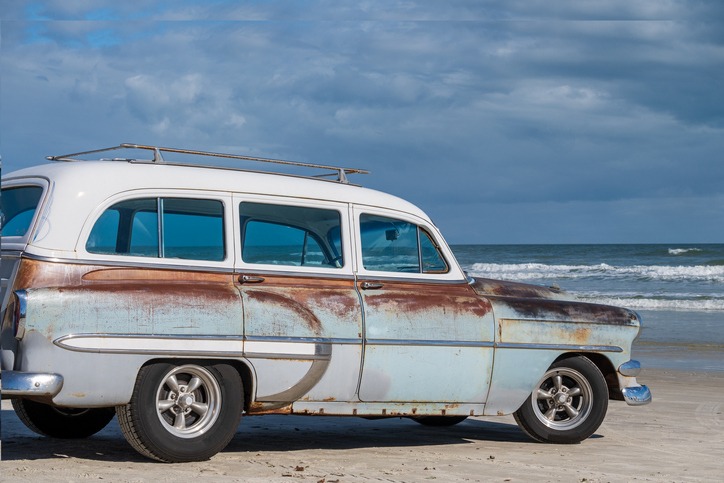
Restoring a classic car is a straightforward process, though it does need your time and some smart budgeting. Think of it as a time investment, as a complete restoration could take about 1,000 hours. Also, brace yourself for a bit of a treasure hunt for parts, which might be a bit hard to find and can add up in cost. But don’t worry, with proper planning, you can make it happen without spending a fortune.
This guide will help you restore a classic car on hand the right way.
The Preparation and Planning Stage
The first thing to do before embarking on a restoration project is to plan for it. Be careful in your planning and preparation, as the success of your project largely depends on the initial steps of selecting the right car, assessing its condition, and ensuring you have the appropriate tools and workspace. Here’s what you need to do:
1.Identify your interests
Start by identifying what interests you in a classic car. Are you drawn to a specific era, make, or model? Some enthusiasts prefer cars from the golden age of muscle cars, while others might be interested in pre-war classics or iconic models of the 1960s and 1970s.
2. Research thoroughly
Once you have a car in mind, research it thoroughly. Understand its history, common issues, availability of parts, and the typical costs associated with its restoration. Online forums, classic car clubs, and enthusiast groups can be invaluable resources for this information. Be aware of the common challenges faced in classic car restoration before you try to restore one.
3. Consider your skill level
Be realistic about your mechanical and restoration skills. If you’re a beginner, starting with a less complicated project might be a better option. Some classic cars require more advanced knowledge and skills to restore properly.
4. Set a budget
Consider how much you’re willing to invest. Restoration can be costly, and often, expenses can exceed initial estimates. Choose a car that fits your budget, including purchase price, parts, and unforeseen expenses.
5. Assess the condition thoroughly
Once you have a car to restore, assess its condition first. Look for these things:
- Rust and body damage: Check the car thoroughly for rust and body damage. Common problem areas include the undercarriage, wheel wells, and around the windows. Rust can be a costly and time-consuming issue to fix.
- Engine and mechanical parts: Assess the condition of the engine, transmission, and other mechanical parts. A car with a functioning engine might save you time and money compared to one that needs a complete rebuild.
- Originality: Evaluate how many of the car’s original parts and features are intact. Cars with more original parts are often more desirable and valuable post-restoration.
- Documentation: Look for any available documentation such as service records, owner history, and original manuals. This can provide insights into the car’s history and condition.
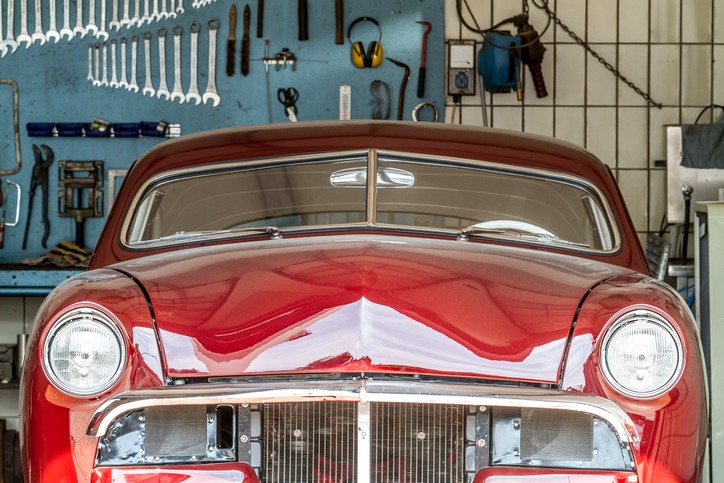
6. Prepare your tools and workspace
In restoring a car, you will need plenty of tools and space. Here are the basic things you need:
- Basic tool set: You’ll need a basic set of tools including wrenches, screwdrivers, pliers, and hammers. As you progress, you might need more specialized tools specific to your car’s make and model.
- Advanced equipment: For more extensive restorations, equipment like engine hoists, welding machines, and sandblasting tools may be necessary.
- Workspace: A spacious and well-ventilated garage or workshop is ideal. Ensure you have enough space to work comfortably around the car and store parts and tools.
- Safety gear: Safety should be your top priority. Invest in protective gear like gloves, goggles, and masks, especially if you’re working with hazardous materials or performing tasks like welding.
- Organization and storage: Keep your workspace organized. Label and store parts carefully to avoid confusion during reassembly. Shelving units, bins, and a good labeling system can save time and frustration.
The Restoration Process
Restoring a classic car is a journey that requires patience, skill, and a structured approach. Each step is crucial in bringing the vehicle back to its former glory. Here’s an expanded view of the key stages in the restoration process:
Phase 1: Dismantling and Taking Inventory
The first phase is the time to get your hands dirty!
- Strip the interior: Keep everything clean and safe from dust. If something’s broken, keep it for reference when shopping for replacements. Note down what needs replacing on your checklist. If you can, remove the entire dashboard with instruments; if not, remove each piece carefully and label all wire locations.
- Remove all wiring: Label each wire as you remove it to avoid confusion later. Check for any damaged wires that need replacing.
- Remove the engine, gearbox, and transmission: First, drain all fluids to prevent messes. An engine crane is a big help here. As you remove parts, label all wires and take photos to document the process.
- Remove external panels: This includes bumpers, wings, trims, and clips. Be careful with the clips since they can be hard to find. Take off the hood, boot lid, and doors, marking hinge edges to aid reassembly.
- Remove window glass: Cut through the old rubber seals with a knife (they’re usually not reusable). Store the glass safely if you plan to reuse it. For replacements or repairs, get a quote from a professional.
- Protect or remove headlights: If they’re faded, consult a professional before re-fitting.
- Use a rotisserie: This helps a lot, but if you don’t have one, you can remove the rear axle and use jack stands instead.
- Remove things underneath the car: Take off the front and rear suspensions, steering rack, brakes, etc. Keep track of what needs fixing or replacing.
- Apply powder coats: For a durable finish, apply powder coating to metal parts like bumpers, wheels, and axles. Alternatively, send them to a professional for a thorough job.
- Order replacement parts: Now’s the time to order parts or contact professionals from your planning phase. To save money and hassle, try to get all your parts from one place.
As you do this, here are some tips to remember:
- Dismantle the car systematically. This process should be done carefully to avoid damaging parts that might be rare or irreplaceable.
- As you dismantle, organize and label each part. Use a system that works for you, such as numbering or categorizing parts by their location on the car. Taking photos before and during dismantling can also help during reassembly.
- Create an inventory of all parts, noting their condition. This inventory will be invaluable for tracking parts during the restoration and identifying what needs to be repaired, replaced, or restored.
Phase 2: Bodywork and Rust Treatment
This is where the real magic happens, turning that old, rusty car into a stunning showpiece. It’s going to be a lot of work, involving stripping, sanding, priming, and painting. Let’s dive in:
1. Stripping the paint: The quickest way to remove paint is by blasting or acid dipping, but you might need a professional for that. For DIY, you have three choices:
-
- Use a wire brush on an electric grinder. It’s time-consuming but effective.
- Sand the paint off. It’s tough to reach into nooks and crannies, though.
- Use paint stripper. This can get messy and isn’t as efficient as the other methods.
2. Tackling rust and dents: Repair dents and body damage. This may involve hammering out dents, using body fillers, or even fabricating new panels for severely damaged areas. This can be a bit of a chore, but you’ve got options:
-
- The best (but priciest) method is to cut out rusted parts and weld in new steel. DIY here is also time-intensive.
- Replace removable panels like spoilers, bonnets, and doors. The trick is finding the right parts for rare models.
- If you want to know the rarest classic cars ever made, check this out.
- A quick fix is to strip back the rust and treat it, but it’s just a temporary solution and not really recommended.
3. Sealing underneath: Undersealing not only looks great but also provides a protective layer against scratches, rust, and extreme temperatures.
4. Prepping for paint:
-
- Fill in gaps and apply etch primer to seal the metal and create a good surface for painting. Wipe down panels at each step to avoid dust and get a smooth finish.
- Spray the shell with primer.
- Lightly sand the primer with 500 grit sandpaper. Be careful not to overdo it, or you’ll be repeating steps.
5. Post-painting touch-ups:
-
- Address any imperfections. Use wet 2000 grit sandpaper to smooth out any dust particles or paint runs, then repaint carefully.
- Give your car a detailed polish.
Phase 3: Mechanical Repairs
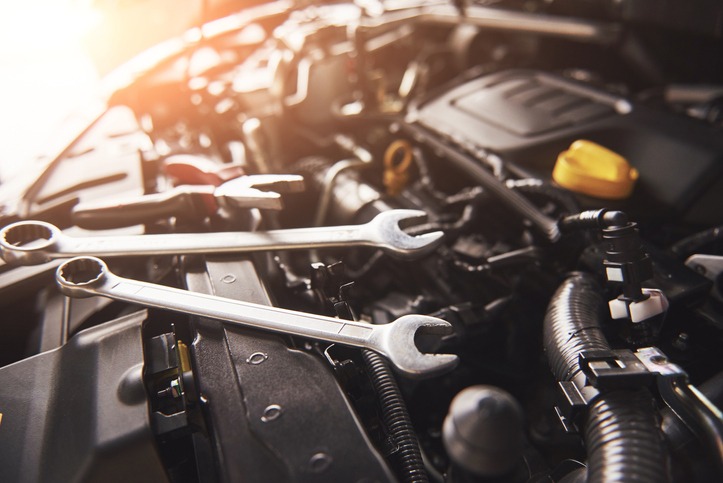
Now’s your chance to really flex those mechanic muscles. Either put your mechanic skills to the test or let a professional mechanic do this job. What to do in this stage will depend on the car’s condition.
In your planning stage, you must decide if you planning an engine rebuild or an upgrade. This step can involve cleaning, replacing worn parts, and sometimes machining components. Depending on your budget, decide which parts need replacing. At a minimum, change all external seals and gaskets to avoid leaks.
If you’re opting for an engine swap, thoroughly research to find a reliable, low-mileage engine. Getting professional help here is wise, as mistakes can be expensive. If you’re not sure about the engine’s condition, have an expert check for wear in bearings, valves, and seats.
Generally, this step will involve:
- Swapping and updating parts: While the engine’s out, think about swapping the timing belt and water pump for reliability. These are tricky and costly to replace later. Also, look at potentially updating the turbo, fuel pump, and intercooler.
- Replacing auxiliary parts: This includes the alternator, power steering pump, AC pump, brackets, coolant pipes, radiator, turbo, and manifolds. Once they’re replaced, give them a good finish – maybe with wrinkle paint, powder coating, or chroming.
- Mounting the engine: For new engines, you might need to fabricate or purchase new engine mounts.
- Transmission and suspension work: Rebuild or repair the transmission and suspension systems. This step is crucial for the car’s performance and handling.
- Fixing other mechanical systems: Don’t overlook other mechanical areas like the brakes, exhaust, and cooling system. Each component plays a vital role in the car’s operation.
Phase 4: Electrical Wiring
Remember, you removed the wiring in the first phase. It’s time to hook it all up. If your car’s a showpiece, you might want to hide the wiring harness. Splicing is quicker but be careful to avoid future diagnostic problems.
Fixing electrical wirings include these steps:
- Inspecting and repairing wiring: Old wiring can be a safety hazard. Inspect the entire wiring harness for wear, damage, and outdated insulation. Replace or repair as necessary.
- Updating electrical components: Consider upgrading certain electrical components for reliability and safety, like converting to a 12-volt system or adding an electronic ignition.
- Ensuring functionality: Ensure all electrical components like lights, indicators, and gauges are working correctly after the wiring work.
Phase 5: Initial Testing
Once everything’s mounted and wired, test it out to see if the car works. Here are some of the crucial steps involved in the testing phase:
- Engine and transmission testing: Start the engine and check for any unusual noises or vibrations. Ensure the transmission shifts smoothly, and there are no leaks or overheating issues.
- Brake functionality: Test the brakes in a controlled environment. Check for even stopping, brake pedal responsiveness, and any signs of squealing or grinding.
- Suspension and steering: Drive the car at a low speed to assess the suspension and steering. Look for smooth handling, proper alignment, and any unusual noises that might indicate issues.
- Electrical system checks: Test all the electrical components, including lights, indicators, gauges, and the entertainment system. Ensure everything functions correctly and that there are no short circuits.
- Fluid levels and leaks: After the initial test drive, check all fluid levels (oil, coolant, brake fluid, etc.) and inspect the car for any leaks.
Based on your initial testing, make necessary adjustments. This might include tuning the engine, adjusting the brakes, aligning the wheels, or refining the suspension settings. Make a note of every issue – everything that’s not working properly and everything that needs fixing. Knowing your engine works before the final paint and assembly brings peace of mind.
Phase 6: Interior Restoration
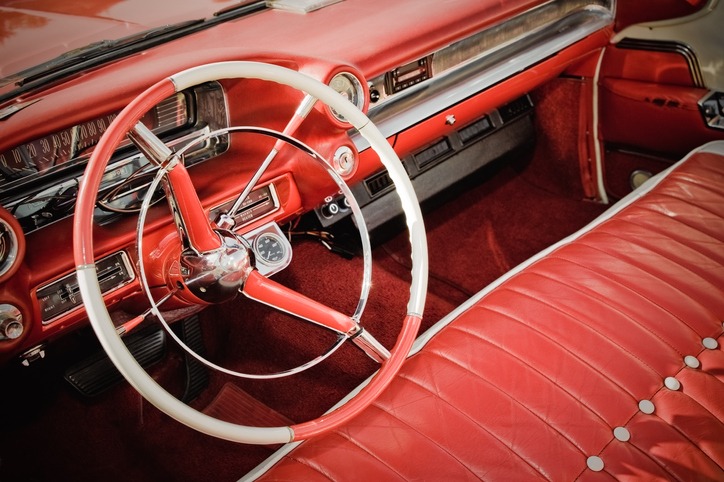
Restoring the interior of a classic car is a task that can bring as much satisfaction as the mechanical and bodywork, often becoming the crowning touch of the project. It involves meticulous attention to detail, as the interior is where the driver and passengers experience the car most intimately. Here are the key aspects of interior restoration:
First, you have to work on the seats and the upholstery of the car. This step is crucial for both aesthetics and comfort.
- Assess the original upholstery: Begin by assessing the condition of the original upholstery. Check for signs of wear, tears, fading, or damage. The goal is to determine whether to repair or completely reupholster. Consider whether to undertake the upholstery work yourself or hire a professional. Upholstery requires specific skills and tools, so evaluate your abilities and resources before deciding.
- Choose materials: If reupholstering is necessary, select materials that match the original look and feel of the car’s era. This could be genuine or synthetic leather, vinyl, or fabric, depending on the vehicle’s make and model. Authenticity is key for classic cars, but durability and comfort are also important considerations.
- Repair seat and padding: Before covering them with new upholstery, inspect the seats’ structure and padding. Repair or replace springs and padding to ensure comfort and shape.
The interior of the car also includes the dashboard and other interior fittings. If your car needs upgrade on these areas, here are some things you may need to look at and assess if it needs fixing, replacing, or restoring.
- Dashboard: The dashboard is often the focal point of a car’s interior. Start by cleaning and inspecting it for cracks, sun damage, or peeling. Restoration can range from a simple clean and polish to a full refurbishment, which might include re-veneering wood or re-coating plastic and metal surfaces.
- Gauges and instruments: Restore or replace gauges and instruments to ensure they are functional and aesthetically in line with the car’s era. This might involve cleaning, recalibrating, or completely refurbishing the instrument panel.
- Door panels and trims: Inspect and restore door panels and trims. This might include repairing wooden parts, reupholstering fabric sections, and ensuring all handles and controls are in working order.
- Carpeting and headliner: Replace or clean the carpeting and headliner. These parts of the interior can accumulate a lot of wear and dirt over the years. Using period-correct materials is crucial for an authentic look.
Remember, he beauty of a classic car’s interior often lies in the details – the chrome accents, the style of the knobs and handles, and even the type of stitching used in the upholstery. Paying attention to these details can significantly impact the overall authenticity and feel of the restoration.
While maintaining authenticity, don’t overlook modern safety improvements. For example, installing seat belts in a car that didn’t originally have them, or upgrading to fire-retardant materials, can be wise decisions.
Phase 7: Reassembling
Now that the paint is fresh, the interior is fine, and the engine hums beautifully, it’s time to piece it all back together. Here’s how to go about it, starting from the basics:
- Reassemble your brake system first.
- Next, refit the fuel system.
- Get the front and rear suspension in place.
- Install all wiring. Test your dash instruments with a voltage meter to ensure they’re working correctly.
- Now, install the engine and gearbox.
- Put in the cooling system next.
- Fit the rubber and place the front and rear windscreens, as well as other windows.
- Refit the exhaust system, head and tail lights, door glass, door handles, and other exterior trims.
- Reattach the doors and boot lid.
- Finally, fit the interior trim, including carpet, headliner, seats, and accent pieces.
The Test Drive
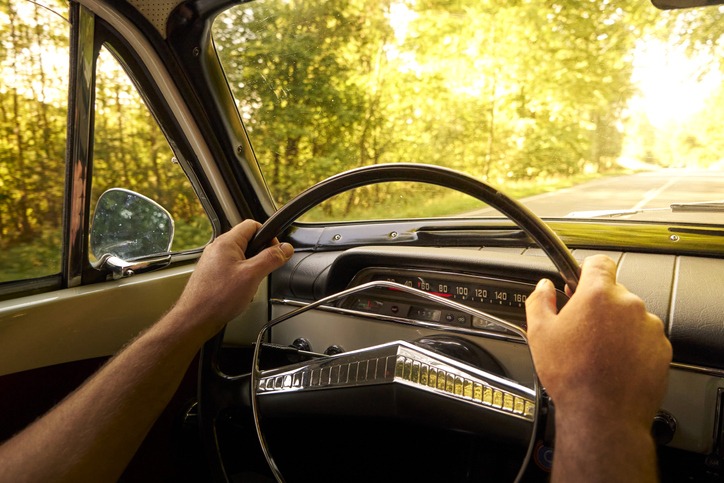
This is it – the big moment. After all the hard work, late nights in the garage, and the dedication you’ve poured into this project, your dream classic car is ready and waiting. As you open the door, you’re greeted by that unforgettable new car smell.
Keep your senses sharp on this test drive. Listen and look for any small issues that might pop up. Check that everything’s working as it should be – the radio, air conditioner, heater, brakes, lights, windows, and all the dashboard instruments.
Conclusion
The journey of restoring a classic car is one filled with challenges, learning, and ultimately, great pride and satisfaction. connects you to history, hones your skills, and introduces you to a community of like-minded individuals. Whether you’re a seasoned restorer or just starting out, each project is a journey worth embarking on. Let your passion drive you, and who knows what incredible stories and experiences await in the world of classic car restoration.