The windows of your car take a beating every day when it’s outside in the elements like harsh weather, squirrels, birds, tree sap, twigs, and more. So, it needs good care, just like the outer body of your ride.
There aren’t a lot of treatments for the glass because it should be completely transparent in order to give you good visibility. However, buffing your car windows can turn out to be a great help, as it creates a layer that acts as protection against these rough elements.
But how to wax car windows is still a question for many! So, here is a detailed post that covers everything related to polishing the automotive glass.
Does Buffing the Car Windows Really Make Sense?
To some, waxing the windows may not make sense, but it is a widely used practice. And smart drivers across the globe use it to protect the glass from dust and debris.
Well, there are plenty of benefits of buffing the windows, such as the ice doesn’t stick to the glass, and you can quickly clean it off with a scraper. So, it makes defrosting the windshield easier, especially during the winters.
Another advantage includes added protection against the harsh UV rays. If you park your car out under the sun, it may gradually damage the interiors. But waxed glass is known to be one of the best ways to protect your car from harmful UV rays.
A Step-by-step Guide to Buff the Car Windows Properly
Buffing only helps if done properly, so you should be sure you are using the right technique (that I’ve covered in this article). Moreover, use a good-quality wax that sits on the glass for longer and doesn’t hinder the visibility.
Applying wax on the glass is similar to applying it on the car’s exterior, but there are a handful of things to keep in mind.
Things You Need
- A good-quality glass wax
- Microfiber towel
- A wax pad
- Water
- Automotive shampoo
- Water repellent solution
Step 1: Prepare for the Process
The first step is preparing for the buffing process. Park your car under shade, it would be great to carry out the buffing process inside the garage because dust or dirt won’t create any issues.
Moreover, your vehicle stays away from the harmful UV rays, which helps the wax sit properly. If you do not have a garage, look for an empty space and wait for a cloudy day.
I don’t recommend buffing the windows under the tree because there are chances sap or bird feces may fall over it.
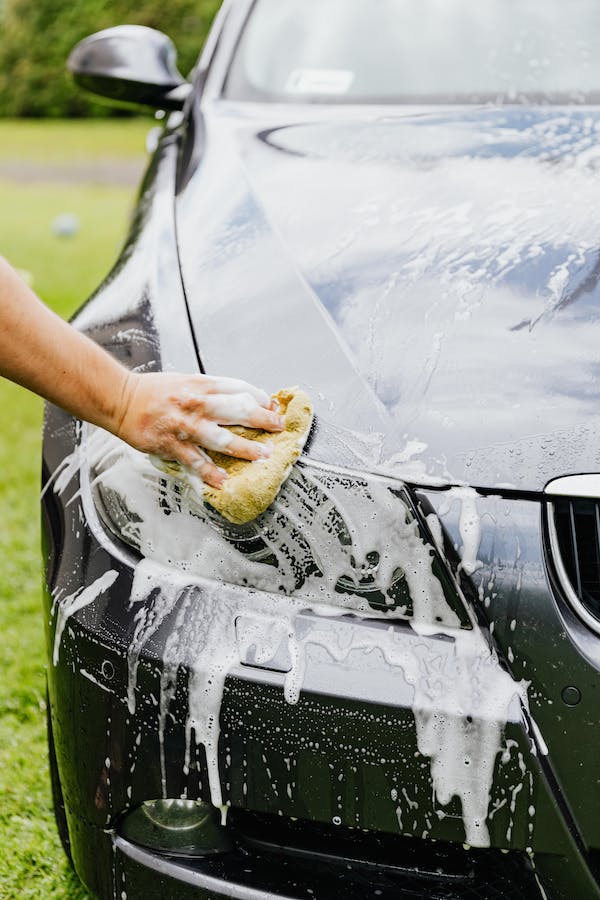
Step 2: Wash the Windows Thoroughly
Washing is an essential step in automotive waxing, whether it is buffing the glass or polishing the car’s exteriors. Rinse all windows thoroughly, and rub them with your hands to get rid of the sticky dust and debris.
Now apply some automotive shampoo on a sponge and rub it on the glass. Make sure to cover the entire window with the shampoo and rinse it again.
Once done with rinsing, take a microfiber cloth, and clean the glass properly. Don’t even leave a drop, as water droplets can curtail the wax’s effectiveness.
Step 3: Wax the Glass
Here comes the most awaited step, now you have to apply the wax to the glass. Always apply the wax in layers, so there are no visible streaks, and you get an even finish on the entire surface.
Do not put the wax directly on the glass, instead take it on a buffing pad to get better control of where the wax goes. You might have seen professionals using power applicators, but these machines are not great for home use, as you may end up scratching the entire glass.
Start applying the wax from the top and then slide the pad downwards. Use small circular motions, and cover every corner, including the area around the rubber seals.
You’ll see haze all over the glass, and as the wax dries, the surface becomes translucent. Don’t worry, it’s a part of the process. Keep applying the wax to all windows, and wait for 30 minutes or (see the directions mentioned on the wax’s bottle).
Step 4: Buff It Using Microfiber Cloth
Before you start buffing the glass, make sure the wax has dried completely. Put your finger on the glass and drag it across the window. If there is some wax on your fingertip, leave it for some more time.
On the other hand, if there is no wax on your finger, it is ready for buffing. Use a microfiber cloth and start buffing in a circular motion, as you did while applying the wax.
The glass will get clear after some strokes, and you’ll see it as neat as before. Buff the entire surface properly, and make sure no residue is left over it.
The Final Step: Spray Water Repellent Solution
If you want the wax to last longer, and protect the glass for months, use a good water repellent solution. Most people quit the process after buffing, but going the extra mile is always helpful.
Not every wax has the extreme water-repellent capability, so the solution reimburses for it. Read the directions on the bottle, and spray the solution over the buffed glass. Once done, wait for a few hours, and your ride is ready to roll.
Final Thoughts
Buffing the car windows isn’t difficult, but choosing the right wax can be challenging. Go for a highly-rated product that belongs to a reputable automotive brand. Furthermore, call someone to help you out throughout the process so you don’t get bored.
Lastly, put in all the effort you can and follow every step properly to expect amazing results that last longer, and the automotive glass remains protected from dust, dirt, moisture, and debris.
Author Bio
Hello, this is Matt, working as a Sr. Editor for CarsTechie. I have worked with reputed car brands like Hyundai, Toyota, Honda, etc. Now I’m working full time with CarsTechie. I have extensive knowledge about the automobile industry. Apart from this, I’m also good at photography and love to go for long drives when free.