
Have you ever thought about how driving an electric vehicle (EV) could be a significant step towards a more sustainable lifestyle? This eco-friendly mode of transportation lessens your overall carbon footprint, which contributes positively to the environment.
Yet, a significant element of EV ownership often overlooked by many is the ability to charge the automobile conveniently at home. Luckily, with more info on the install process readily available, this scenario isn’t impossible but a reality that many EV owners enjoy today.
The installation can seem daunting, especially with the array of steps to follow. Yet, with knowledge and planning, you can soon get your very own EV charger on your property. This post will guide you through the steps to get an electric charger in your property up and running. Read on to learn more.
Step 1: Select the Appropriate Charger
Before diving headfirst into the at-home EV charger installation process, you must know the different charging options available. Typically, you can install two types of chargers at home: Level 1 and Level 2.
Level 1 chargers come with your electricity-enabled vehicle upon purchase (depending on the EV manufacturer) and can be plugged directly into a standard 120-volt outlet. This type of outlet is the same one you’d find in any home. Generally, level 1 chargers are convenient because they require no unique installation. Sadly, they can only deliver a charge slowly. According to studies, it can take up to 20 hours to fully charge a standard 30-kWh EV battery with level 1 chargers.
On the other hand, Level 2 chargers are what you’d typically find at public charging stations. These operate on 240-volt circuits and can recharge a car much faster. Reports suggest that where level 1 chargers take 20 hours, level 2 may take five to seven hours.
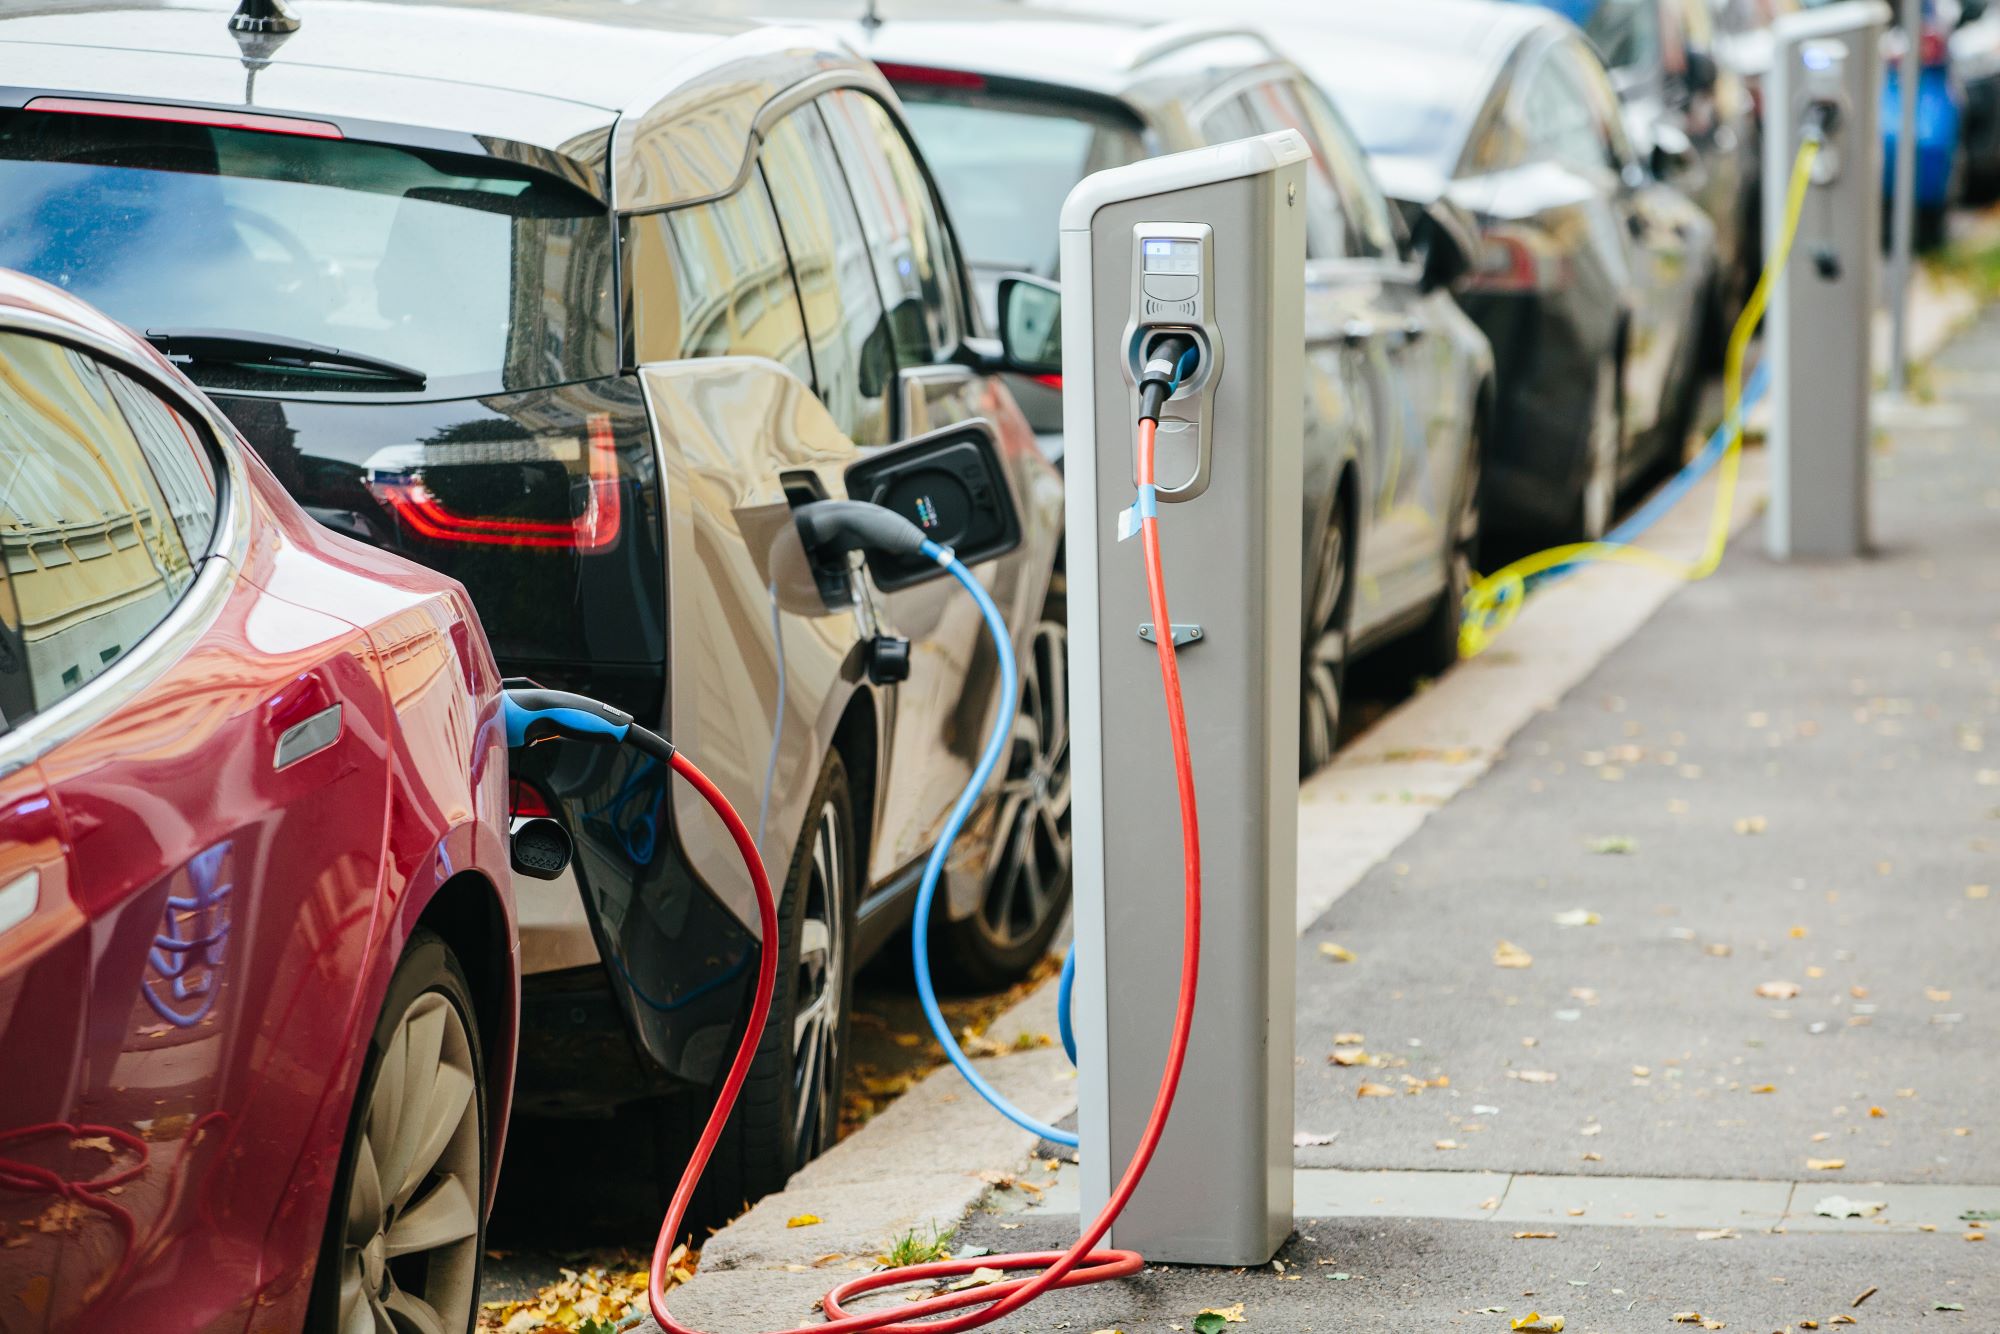
Now that you’ve got an idea about the charger types, this post will move on to the installation process. In this case, the focus will primarily be on level 2 chargers, which are far more convenient than the other.
Step 2: Choose The Right Location
A critical aspect of the installation process is choosing the right location for your charger.
The most common place is the garage. This location may provide easy access to your vehicle and home’s electrical system.
Nonetheless, if you’re yet to construct a garage or prefer parking outside, you can install an outdoor-rated charger. The exterior wall or a freestanding post can serve as the installation point. If this is the case, use a charger built to withstand adverse weather conditions.
Step 3: Assess Your Home’s Electrical Capacity
Next, you need to ensure that your home’s electrical system can handle the additional load of a level 2 charger. Most homes have either a 100 or a 200-amp service. Ideally, the 200-amp threshold can easily take the level 2 charger. If your home’s got 100-amps, you may need an upgrade.
For perspective, what a 200-amp service can handle may stretch a 100-amp service. This is because the amount of electricity a 200-amp service can distribute is twice what a 100-amp service can. Consult a licensed electrician if you’re unsure about your home’s electrical capacity; they can help you out in the EV charger installation process as well.
Step 4: Obtain The Necessary Permits
In most regions, installing a level 2 charger requires a permit from your local building authority. This process typically involves submitting a plan detailing the proposed installation and paying a set fee. While this might seem tedious, ensuring compliance with local building codes and regulations is essential.
To that end, research your local building codes and obtain the necessary permits depending on your location.
Step 5: Carry Out The EV Charger Installation
Generally, installation involves setting up a new circuit on your home’s electrical panel. Afterward, you’ll run a conduit and wiring to the charger location, then mount and connect the charging unit.
Ideally, you should involve a qualified electrician in this process. After installation, you should ensure they test the charger to confirm it works correctly and safely.
Step 6: Consider The Future
A key step in this process is to consider future-proofing your home for potential EV growth. With the EV industry on an upward trajectory, per credible reports, the future may very well be dominated by electricity-powered cars. To that end, you might consider extra chargers if you anticipate owning more than one electric vehicle.
Set Up Today
As more and more people opt for EVs, the convenience and flexibility offered by home charging stations are increasingly evident. In that case, having a personal charging station isn’t just an innovative feature of your home. Plus, it’s a significant stride towards promoting environmental sustainability.
By following the tips in this feature, you, too, may benefit significantly from this flexibility. Contact the relevant professionals today and begin your journey into the electrical future.