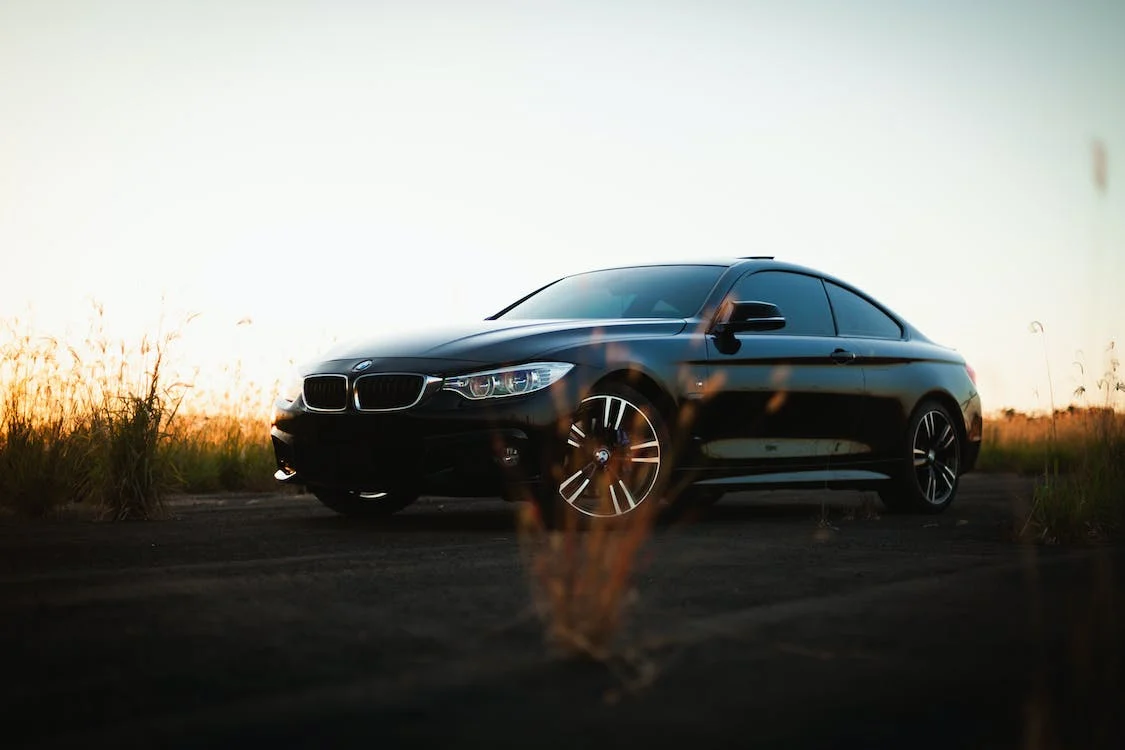
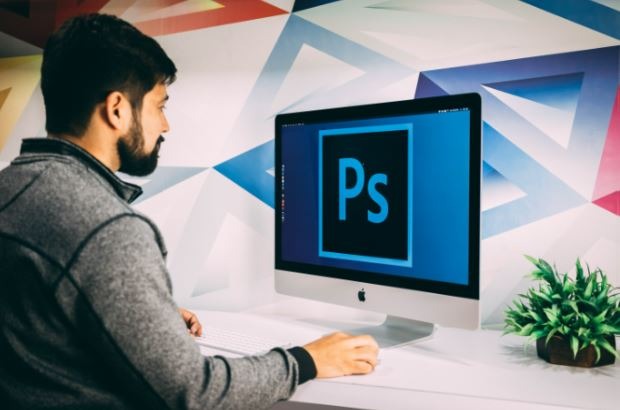
While you’re going to edit a car photo, using Photoshop will be the most convenient way. As it has the best overwhelming editing tools, people don’t refuse to work with it.
When editing your car photo, make sure you keep it realistic. If you want them to look like professionals, you can show the perks of the car. Color correction, shadow editing, background change as well as your personal logo can make a huge change.
As you retouch your photos, your main goal should be to edit the car as accurately as possible. Use the maximum tools to create the best outcome. Now start with a fresh image and see how Photoshop can help you.
How to Quickly Edit a Car Photo Using Photoshop
In this era, clicking on the camera doesn’t cost much, so everyone can afford to take thousands of images. Then you can work on them in the Lightroom or Photoshop enough to make them the best.
Before starting your work with the car image, make sure that the image is not retouched and filtered. Determine how realistic you could be with your picture. That’s why over-editing your photo can spoil it.
If you have any doubt, you can get professional help from any car image editing service. They can help you with background removal, adding or removing objects, and color correction or variations.
Walk through some essential steps that you can use while editing a car photo using a Photoshop-
Crop the Image
To crop your car image in Photoshop, choose the Crop Tool first. Then select the border from the cropping border options, or you can Reset them from the Menu bar.
The car image can also be repositioned inside the cropped border. To cancel the applied crop, you can use the Cancel option. Rather than utilizing the built-in crop option, you can draw your own border.
Make your own border by selecting a potion in the image and dragging. Now use the handles to resize the border.
Color Correction
-
Saturation
Go for the new adjustment layer and over to hue or saturation. In this box is one of the essential adjustment layers of Photoshop. Here you’ll get three sliders you can click and drag to change the hue.
Here you’ll get an option colorized which can change the color of the image to the exact color that you choose from the slider. You can reset the previous color by selecting the reset option.
-
Temperature
Go to the Image option, then select the Adjustment setting. Here you can adjust the color balance. You can also open the color balance through a shortcut command +B or Ctrl B.
Here you will see a box including three sliders. Here you can slide the yellow or blue slider as well as the Cyan or Red slider to adjust the color temperature.
-
White Balance
Adjusting the white balance does not require other color corrections. Otherwise, if you use an incorrect white balance, there will be color cast in your photograph. This color cast can easily affect several things, such as vibrance, saturation, and contrast.
-
Exposure
Make a new adjustment or fill layer utilizing the Create new layer option. From these, select the exposure option. On the top of the background layer, Photoshop will create a layer. Here you can see the Exposure window.
Here you’ll see the exposure window; you can adjust the slider from left to right. With these techniques, you can adjust the exposure.
-
Dodge and Burn Tool
If you give your car photo an additional texture, then you can use this dodge and burn tool. Through this tool, you can highlight or darken any specific area from the image.
Make a new layer and choose the Overlay mode for it. Select the “fill with overlay-neutral color” checkbox to make dodge and burn modifications without modifying the source image.
Now choose the Dodge Tool, then adjust the brush’s size and softness. Use the Dodge Tool to paint over particular areas you want to make brighter and the Burn Tool to make certain areas darker. To avoid overdoing the effects, keep in mind to use a soft brush setting and make smaller strokes.
-
Remove Unwanted Spots
After adjusting the car photo’s color, you can now go for some selective corrections. Dust particles from a dirty sensor will display in your images as little spots that recur in the same location on each and every picture you take.
Be careful and ensure that you clear your sensor first to avoid this issue. Otherwise, if you have already taken the photos, you can edit them with Photoshop.
You can use a spot-healing brush, patch tool, or clone tool to make your car photo perfect.
-
Content-Aware Fill
You can find the content-aware fill tool in Photoshop now as one of the latest tools. Through this tool, you can remove any unwanted object from your car image.
You can easily use this tool to remove any object – first, select the object, then open the Content-aware fill tool. By choosing a Lasso tool and repeatedly pressing the Expand button, you may increase the selection edges of the object.
Then use the Contract button or Undo to shrink the selection’s edges if you accidentally extended it too much. Click OK to save the results.
How To Export Your Photo From Photoshop
Let’s discuss the simplest method for exporting pictures from Photoshop. It’s time for one more step in the editorial process now that you’ve made it this far. To export your photo, you need to do that.
The most critical step is to switch the format from Photoshop to JPEG. After entering your preferred file name and destination location, click “Save .” Now you can export your photo as a JPEG file.
Extra Tips on Using Photoshop
Check out our other blogs to get step-by-step lessons for Photoshop editing. You can create GIFs, restore vintage photographs, and many things. Here are some more tricks that you can follow while editing images in photoshop-
- To compare the freshly altered layer to the original, always make adjustments on a duplicate layer while leaving the Background layer alone.
- As we said before, ensure that you’re editing a RAW image.
- If required, repeat the process of making incremental modifications.
- To increase your productivity, develop your own Photoshop process.
- To acquire the true color, you can calibrate your monitor.
Wrapping Up
If you’re new to the Photoshop world, this write-up can be a little overwhelming for you. Remember to practice; repeating these steps can make your photos more like professionals.
Don’t get tense when it takes too long to create the perfect one; good things need time. But once you follow the tricks and do your best, you’ll get Photoshop’s perfect car pictures.
But remember, getting great raw photos are better than overly Photoshopped images. If you want to create amazing photos of classic cars, here are some helpful tips when photographing them.